Blog

Let’s be real, rolling a joint can feel a little intimidating at first. If you’ve never done it before, it might seem like some secret skill only your one stoner friend knows. But here’s the good news: it’s actually way easier than it looks.
Whether you’re just getting started or looking to improve your rolling game, learning how to roll a joint (or even how to roll a joint—because yes, people search it that way too) is a solid skill to have. And once you get the hang of it, you’ll wonder why you ever stressed about it in the first place.
Key Points:
- Grind your weed evenly so it burns smoothly and makes rolling easier.
- Add a filter tip to keep your joint sturdy and avoid bits of weed getting in your mouth.
- Pick good-quality rolling papers (like hemp or rice) for a cleaner smoke and better roll.
- Roll gently but firmly to shape the joint evenly and avoid air pockets inside.
- Seal with a lick and pack the tip so it burns evenly when you light it.
Why Bother Learning to Roll a Joint?
Joints are the classic way to enjoy cannabis. They’re simple, portable, and don’t require any fancy gear. Learning how to roll the joint yourself means you’re no longer dependent on someone else at a sesh. You’ve got control over how much you use, what paper you prefer, and how you want it to burn.
What You Need to Roll a Joint
Here’s what you’ll need before we get rolling:
- Rolling papers (Hemp, rice, or flavored—it’s up to you)
- Ground cannabis (usually 0.5g to 1g for one joint)
- A filter/crutch (rolled cardboard works fine)
- A grinder (or your fingers in a pinch)
- A flat surface (tray, book, or clean table)
- Joint roller if you’re not comfortable rolling by hand yet. (optional)
Step-by-Step: How to Roll a Good Joint
Here’s the easy way to get it done:
Grind the Weed
Start by breaking down your bud into small, even pieces using a grinder. No grinder? No problem—just use your fingers or scissors. Try to avoid grinding it too fine or leaving big chunks.
Make a Filter
Take a small strip of stiff paper. Fold one end 2-4 times, then roll it into a tube. This filter keeps the joint firm and prevents weed bits from reaching your mouth.
Set Up the Paper
Lay out your rolling paper with the sticky side facing you at the top. Place your filter at one end.
Add the Weed
Sprinkle the ground weed evenly across the paper. How much? About half a gram for a standard joint. You can add more if you’re experienced, but it’s better to start small.
Shape the Joint
Now gently roll the paper back and forth between your fingers to shape the weed into a cylinder. This is called “packing.” It’s where your joint starts to take shape.
Roll It
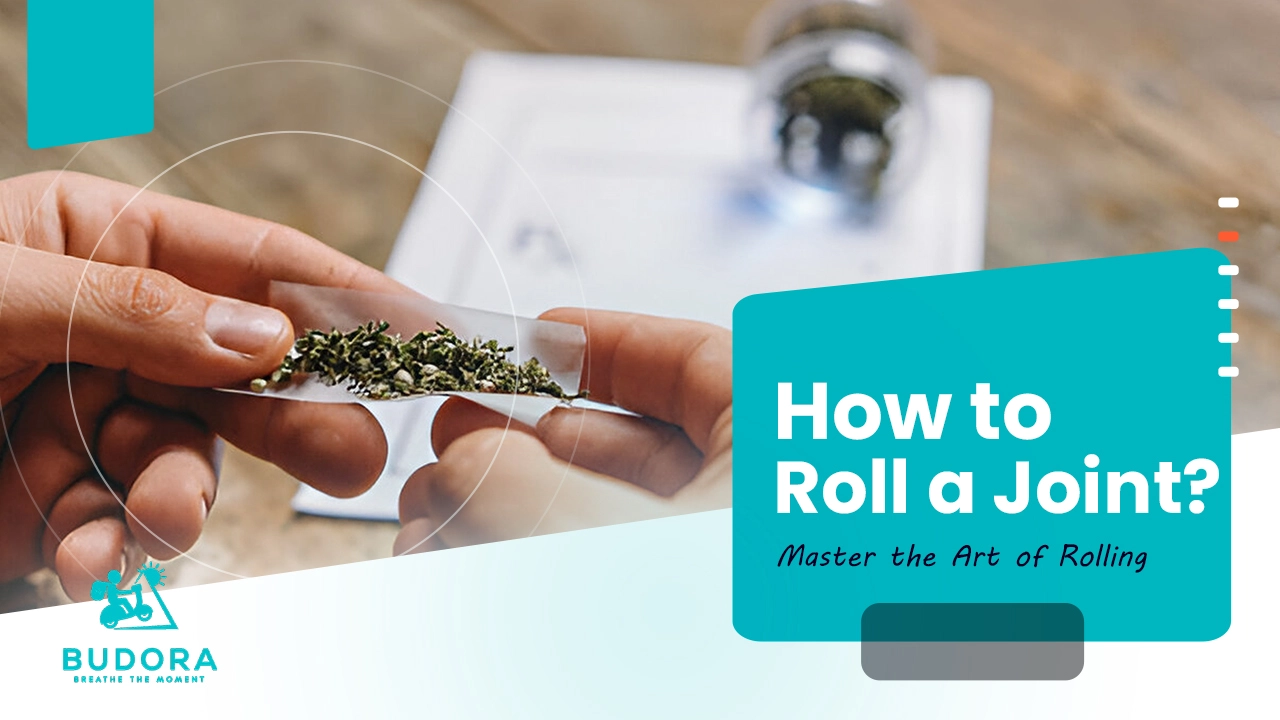
Tuck the non-sticky edge over the weed, then roll up toward the sticky edge. Lick the gum and press to seal.
Pack and Twist
Use a pen, key, or toothpick to gently pack the open end for a more even burn. Twist the tip to close the joint and keep everything inside.
Trying Tools: How to Roll a Joint with Joint Roller
If you’re struggling with hand-rolling, consider using a joint roller. It’s a small plastic tool that helps form a tight, even joint with almost no effort.
How to use it:
- Open the roller and place the filter and weed inside.
- Close and roll the device to shape the contents.
- Insert a rolling paper, sticky edge up.
- Roll again until only the sticky part shows.
- Lick it and finish the roll.
Common Mistakes to Avoid
Even the pros mess up now and then! Here are some of the most common mistakes when learning how to roll a joint:
- Rolling it too tightly: If it’s packed too tightly, you won’t be able to inhale properly.
- Rolling it too loose: A loose joint burns unevenly or might fall apart on you.
- Skipping the filter: Without a filter, your joint can get soggy and messy.
Tips to Make Your Joint Burn Smooth
To make sure your joint burns like a dream, keep these tips in mind:
- Don’t overstuff it: Too tight makes it hard to draw; too loose makes it burn too fast. Find the sweet spot!
- Use fresh weed: Dry weed can be a pain to roll, often crumbling or burning unevenly. Fresh weed is easier to work with and offers a smoother, more consistent burn. You can explore a variety of high-quality cannabis strains to find the right one for your needs.
- Add a filter: It not only helps with airflow but keeps everything nice and clean while you smoke.
- Practice makes perfect: Don’t stress if your first joint is a little lumpy—it happens! With each try, you’ll improve.
Rolling Techniques for Next-Level Joints
Once you’ve got the basics down, it’s time to try some fun rolling styles:
- Cone joint: Wider at the tip for a smoother, slower smoke.
- Cross joint: A cool T-shaped joint made by inserting a smaller joint through the main one. (It’s a bit advanced, but fun to try!)
- Double paper: For when you’re feeling bold and want an extra thick, slow burn.
Conclusion:
Rolling a joint is a fun and rewarding skill that anyone can learn with a bit of practice. Whether you’re a first-timer or looking to refine your technique, following these simple steps will help you roll joints that burn evenly and hit just right. And remember, it’s all about enjoying the process—so take your time, experiment with different papers and techniques, and have fun along the way. Soon enough, you’ll be rolling like a pro.
FAQ’s
What’s the easiest way to roll a joint?
Can you roll a Backwood with a joint roller?
What’s the difference between a spliff and a joint?
How to roll a good spliff?
Is it better to roll by hand or with a joint roller?
Can you roll a Backwood with a joint roller?